Changing or Repairing a Ute Tyre
Posted in Servicing Insights
Changing or Repairing a Ute Tyre
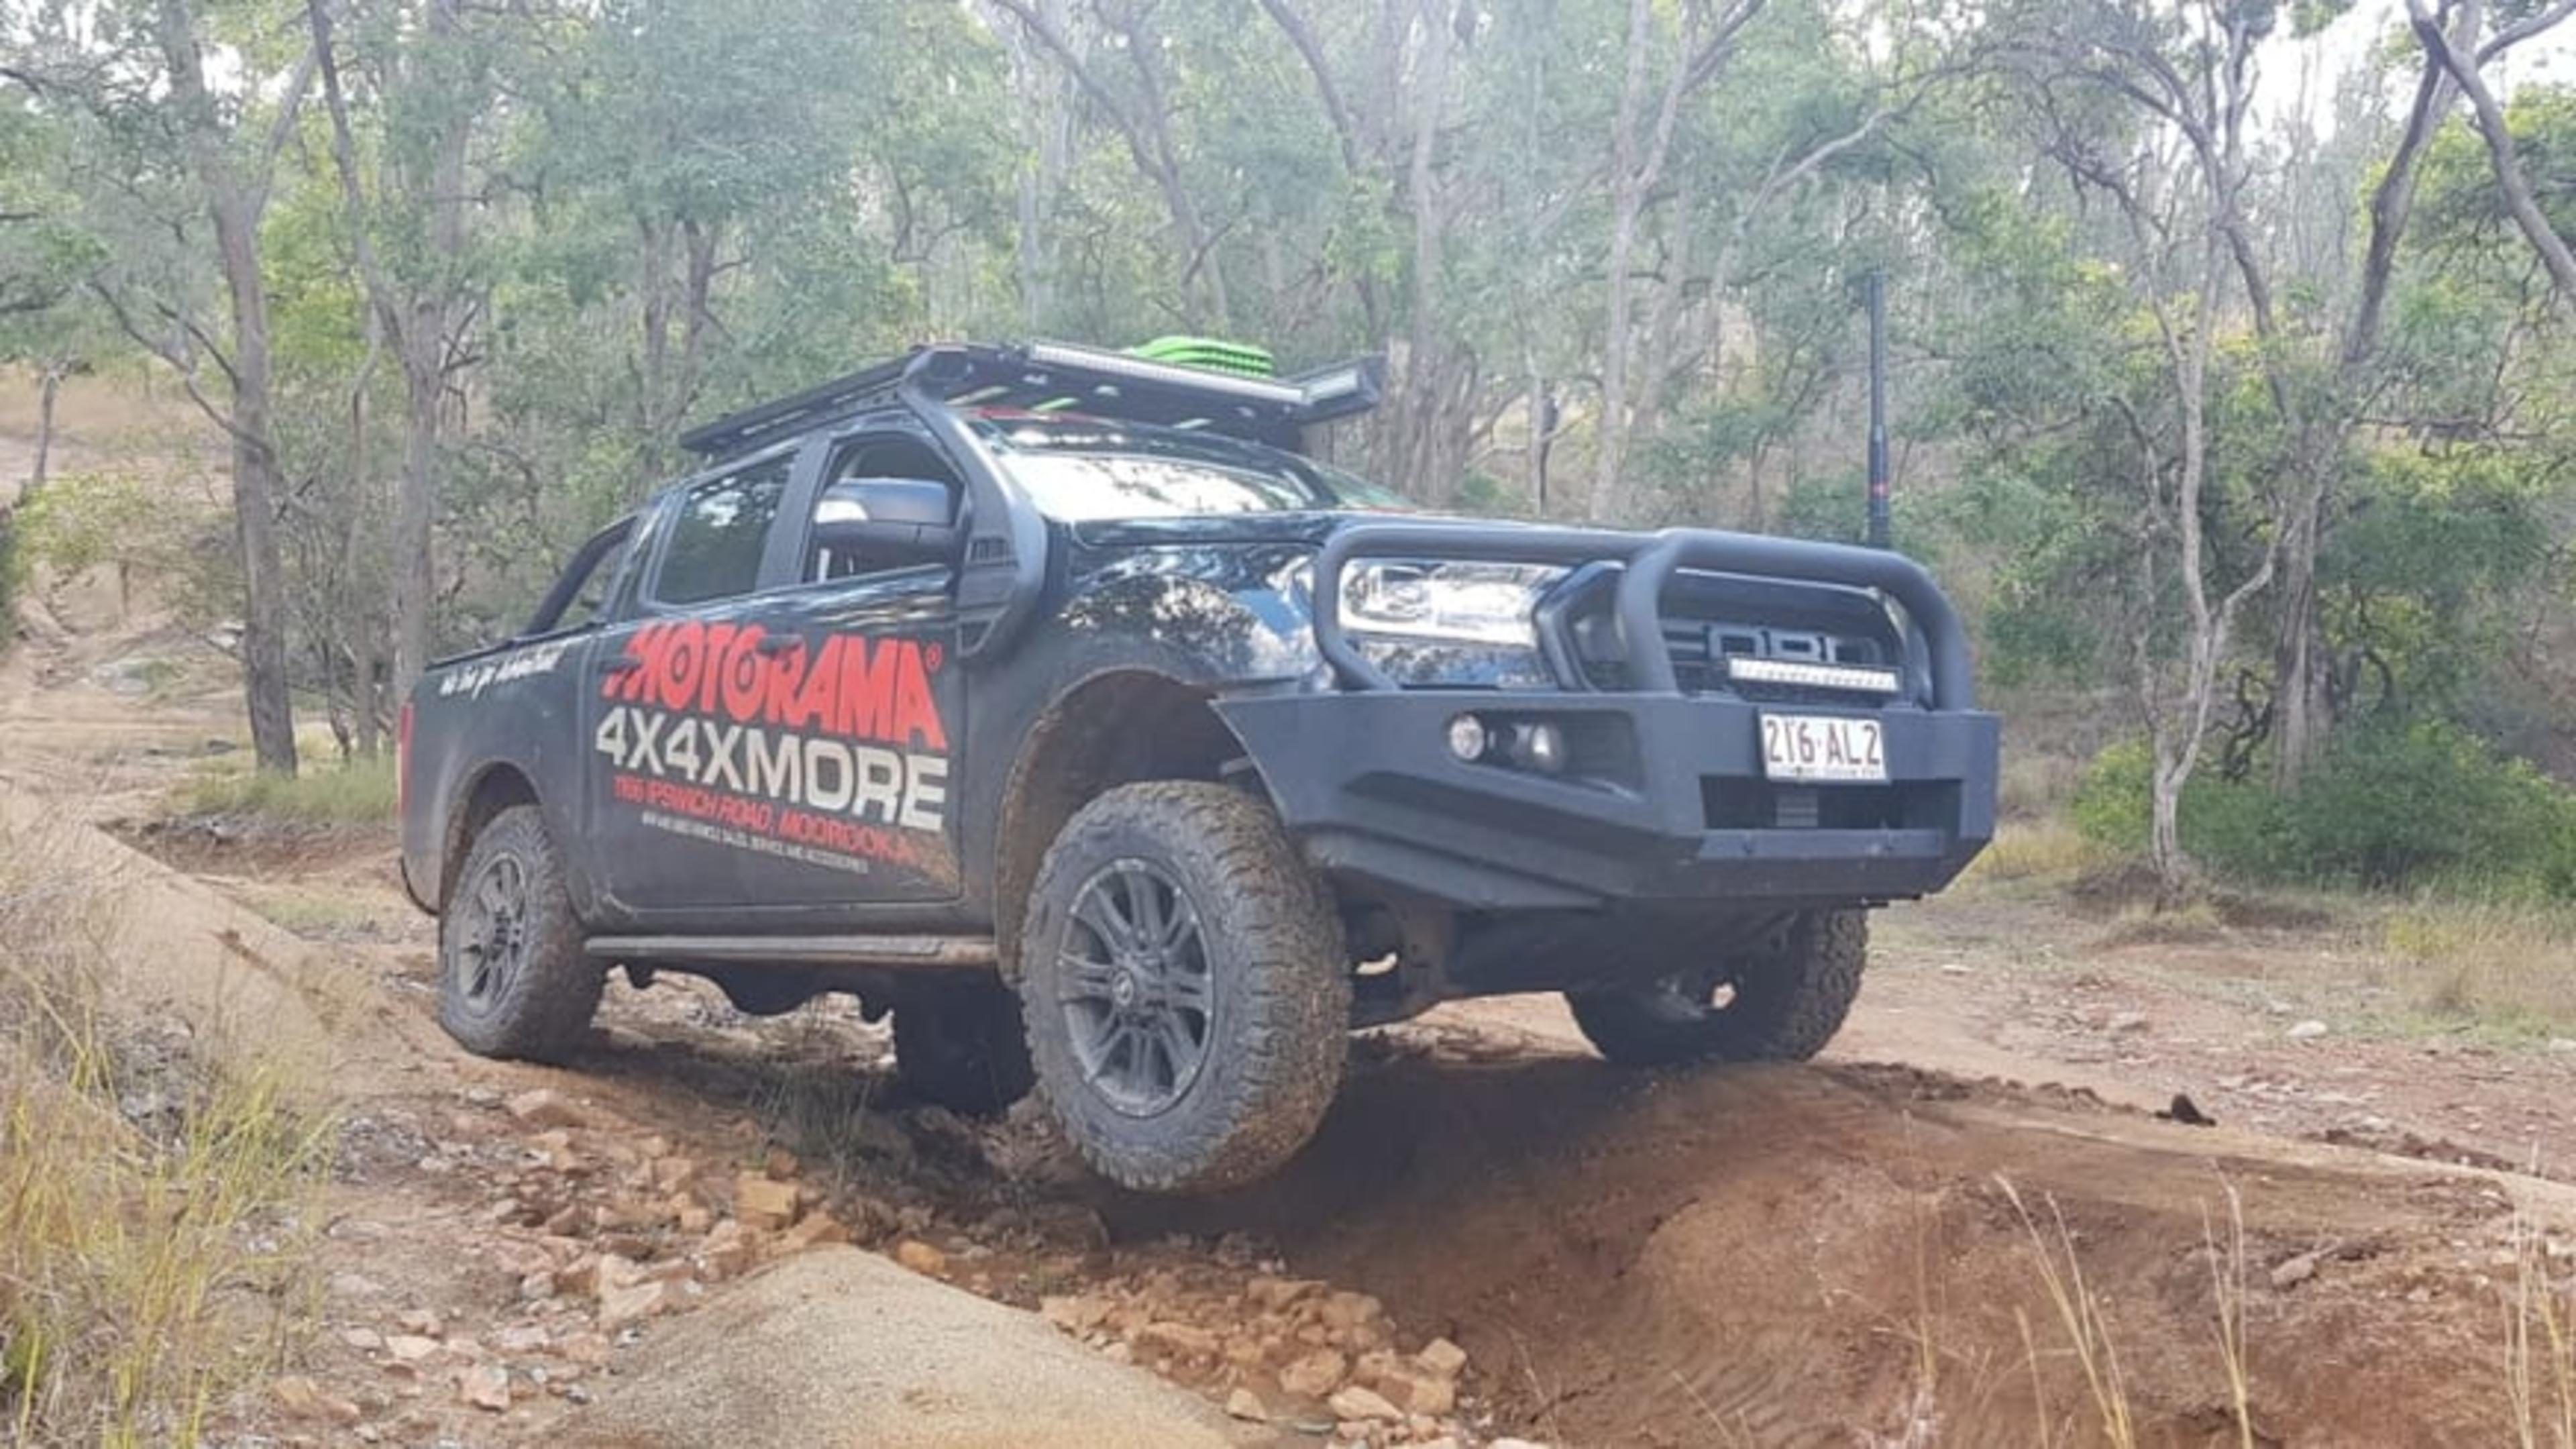
Getting a flat tyre on the road is enough of a nuisance, but getting one when you're off roading is an even bigger issue. If you're driving a ute, you might not even know where your spare tyre is! Let the 4x4xMORE team show you how to change or repair your ute tyre.
PREPARE YOUR GEAR
So you're driving around on the beach, a bush track or on a corrugated road with your ute and you start to feel some wobbling. Tell tale signs include your tyre pressure indicator flashing to say there is something wrong, or you notice your ute is pulling to one side. It's time to stop, get out and see what's going on. More than likely it's a flat tyre.
Of course, you and your vehicles safety is imperative. Make sure you're out of harms way and if possible, pull over to the side of the track. Make sure you stay on solid, level ground though, which might be difficult on the beach, but look for an area of compacted sand if possible.
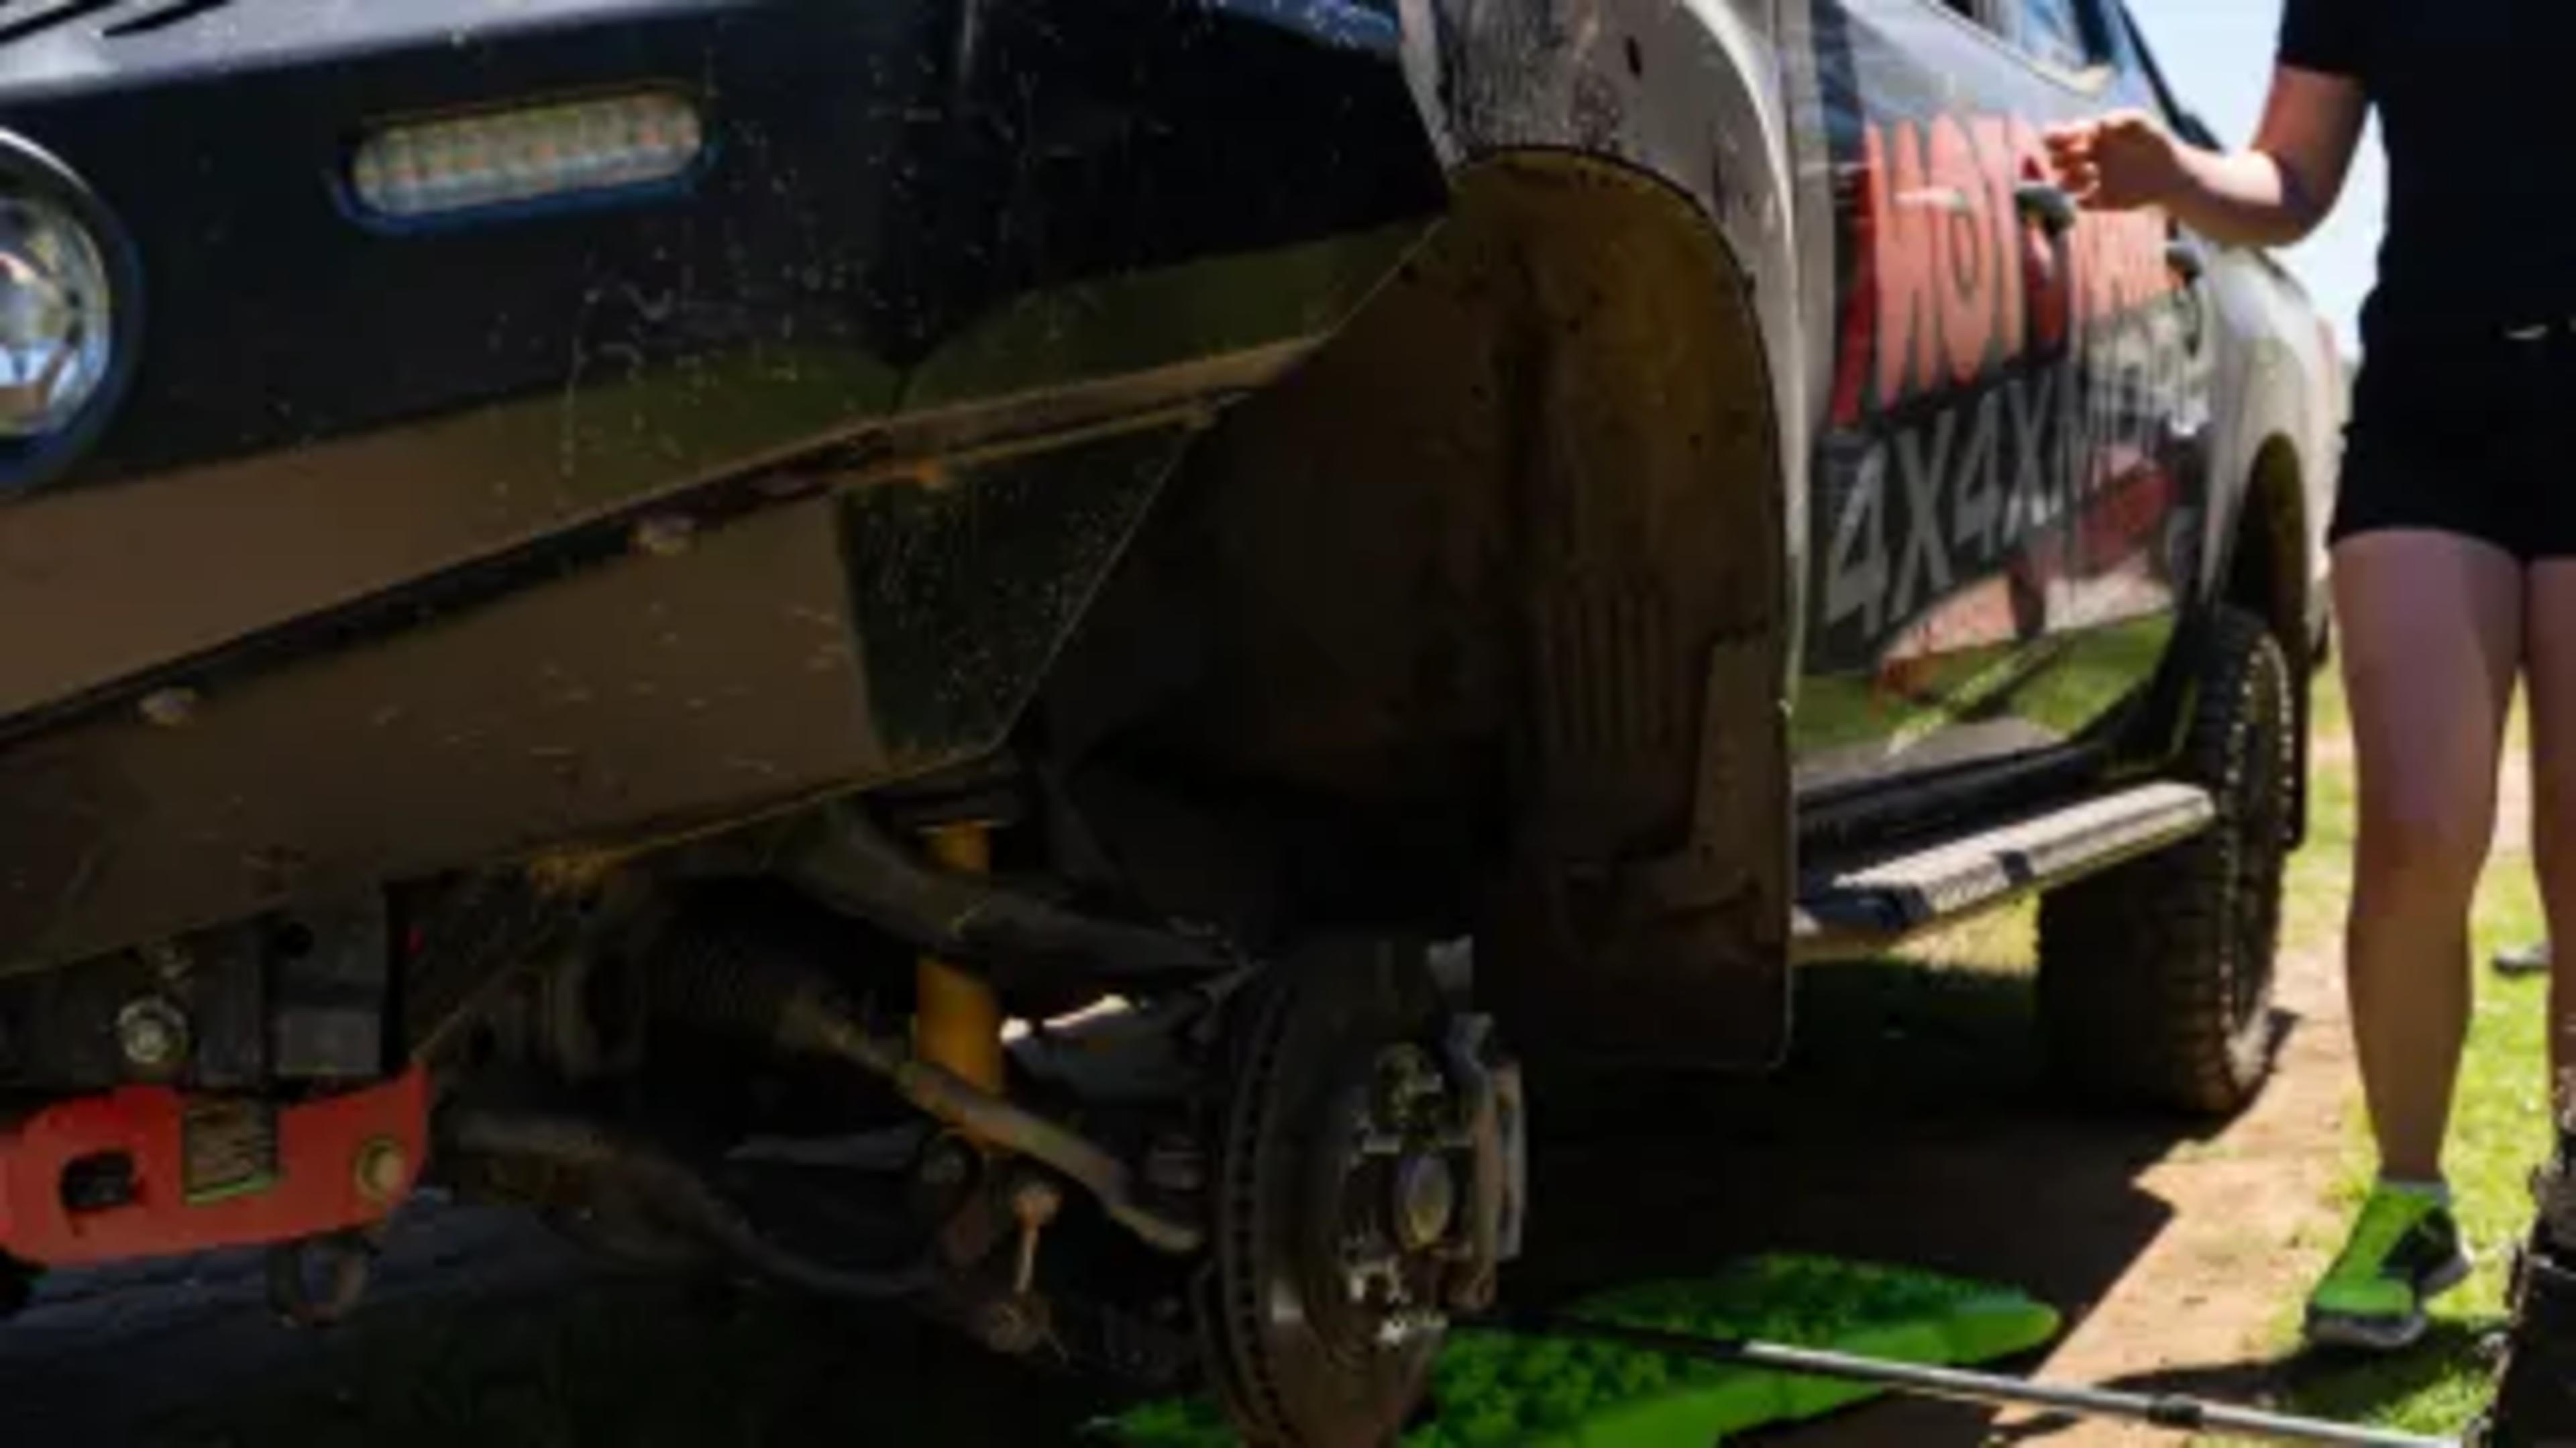
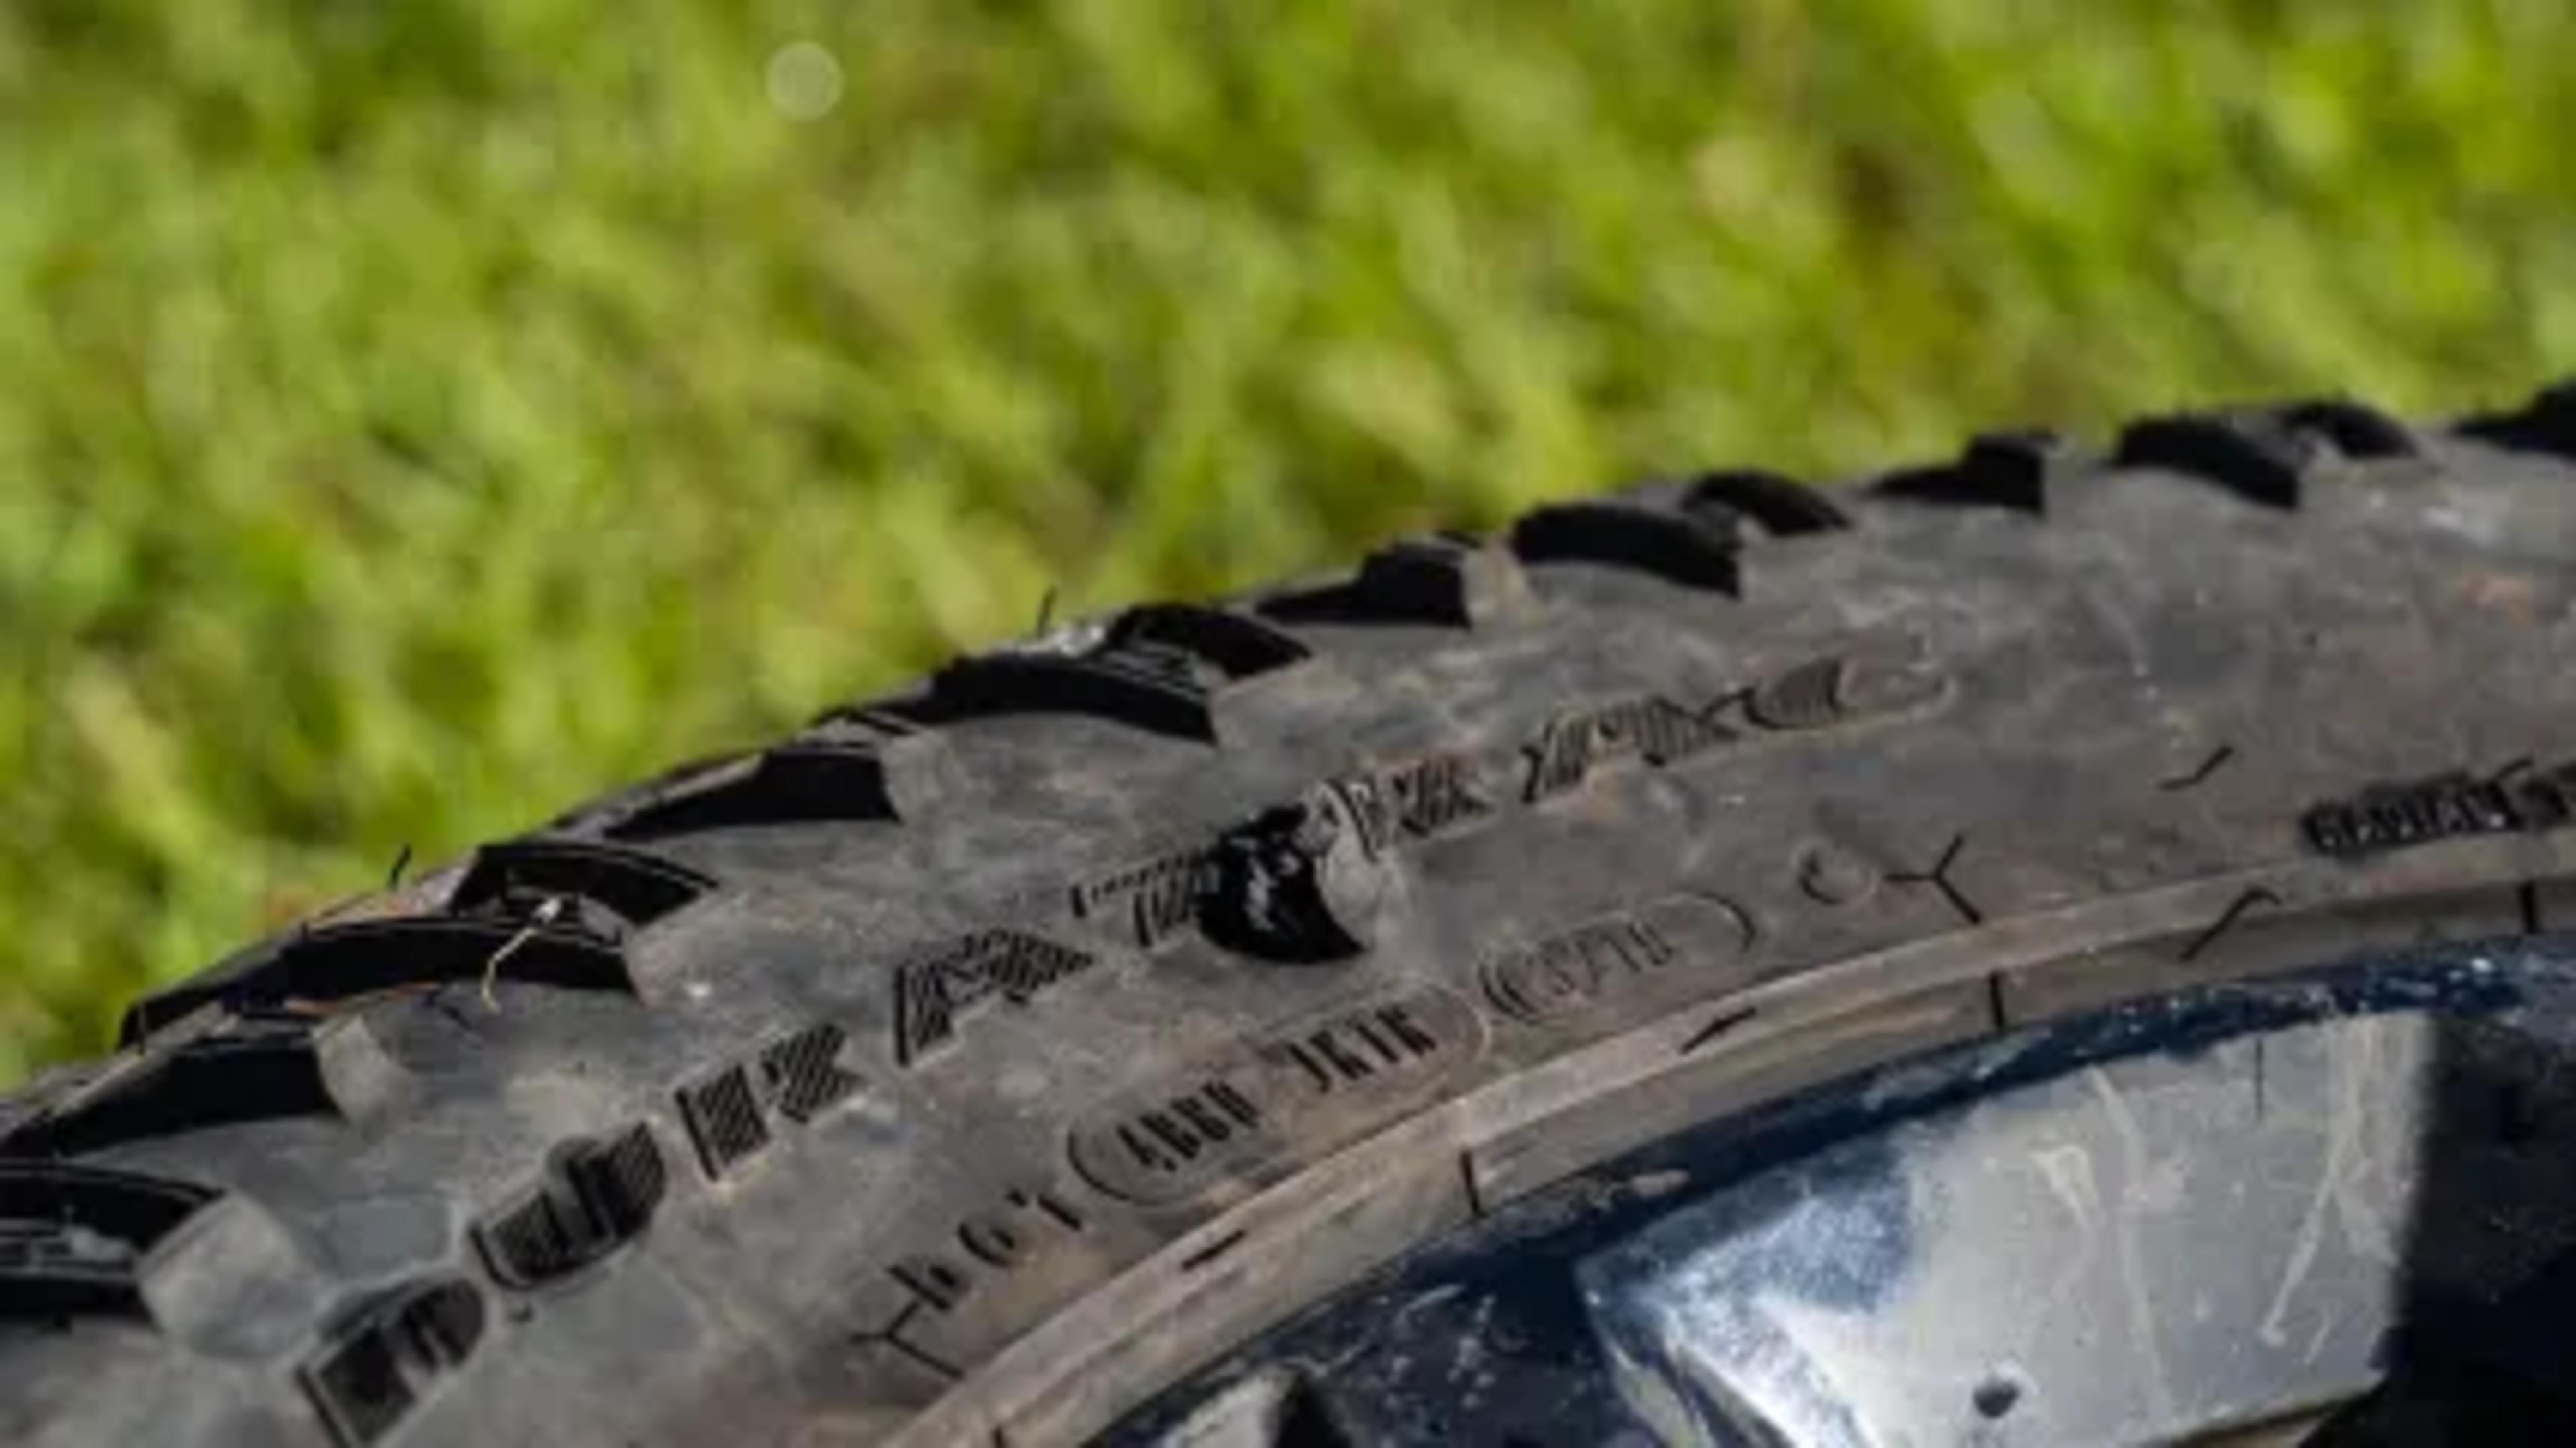
First asses if instead of changing the tyre on a rough track, if the stake is accessible it may be possible, and safer, to plug the tyre while it is still on the vehicle. If not, you've got to get your gear ready.
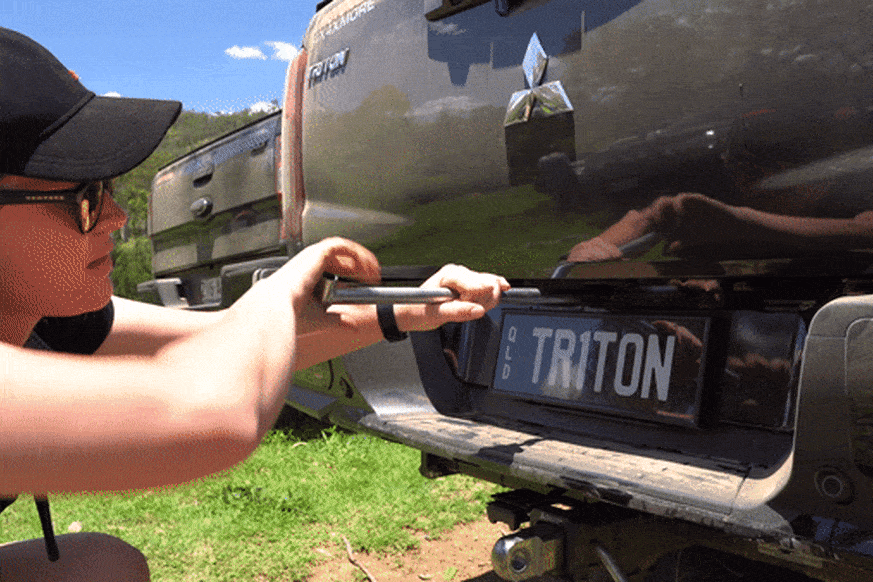
Now in a car the spare tyre would in the boot, but that's not the case with a ute. Your spare tyre is located under the tray bed. You will need a special tool that goes between your rear bumper and the tray to lower the tyre down.
Usually you can find this tool together with a jack and jack handle behind the rear seats in your ute. There should also be a wheel brace for your wheel nuts.
Stick the wrench in the hole between the licence plate and ute tray, click it in place and start turning clockwise to loosen the lock holding the tyre. It should slowly lower to the ground.
GETTING THE TYRE OFF
Now that you've got your spare tyre ready, you can get on with getting the flat tyre off.
Make sure to place a chock under the rear tyres (when changing the front) or the front tyres (when changing the rear) and loosen the wheel nuts before getting your ute off the ground.
Now it's time to get the flat tyre off the ground. If the ground is uneven, it is a good idea to use a recovery tread (or other hard durable object) as a base for your jack.
Remember, never put yourself under the vehicle when jacking it up. You need to ensure that your ute is just high enough off the ground so there is space between the flat tyre (consider enough space to also fit the new, well inflated tyre) and the ground.
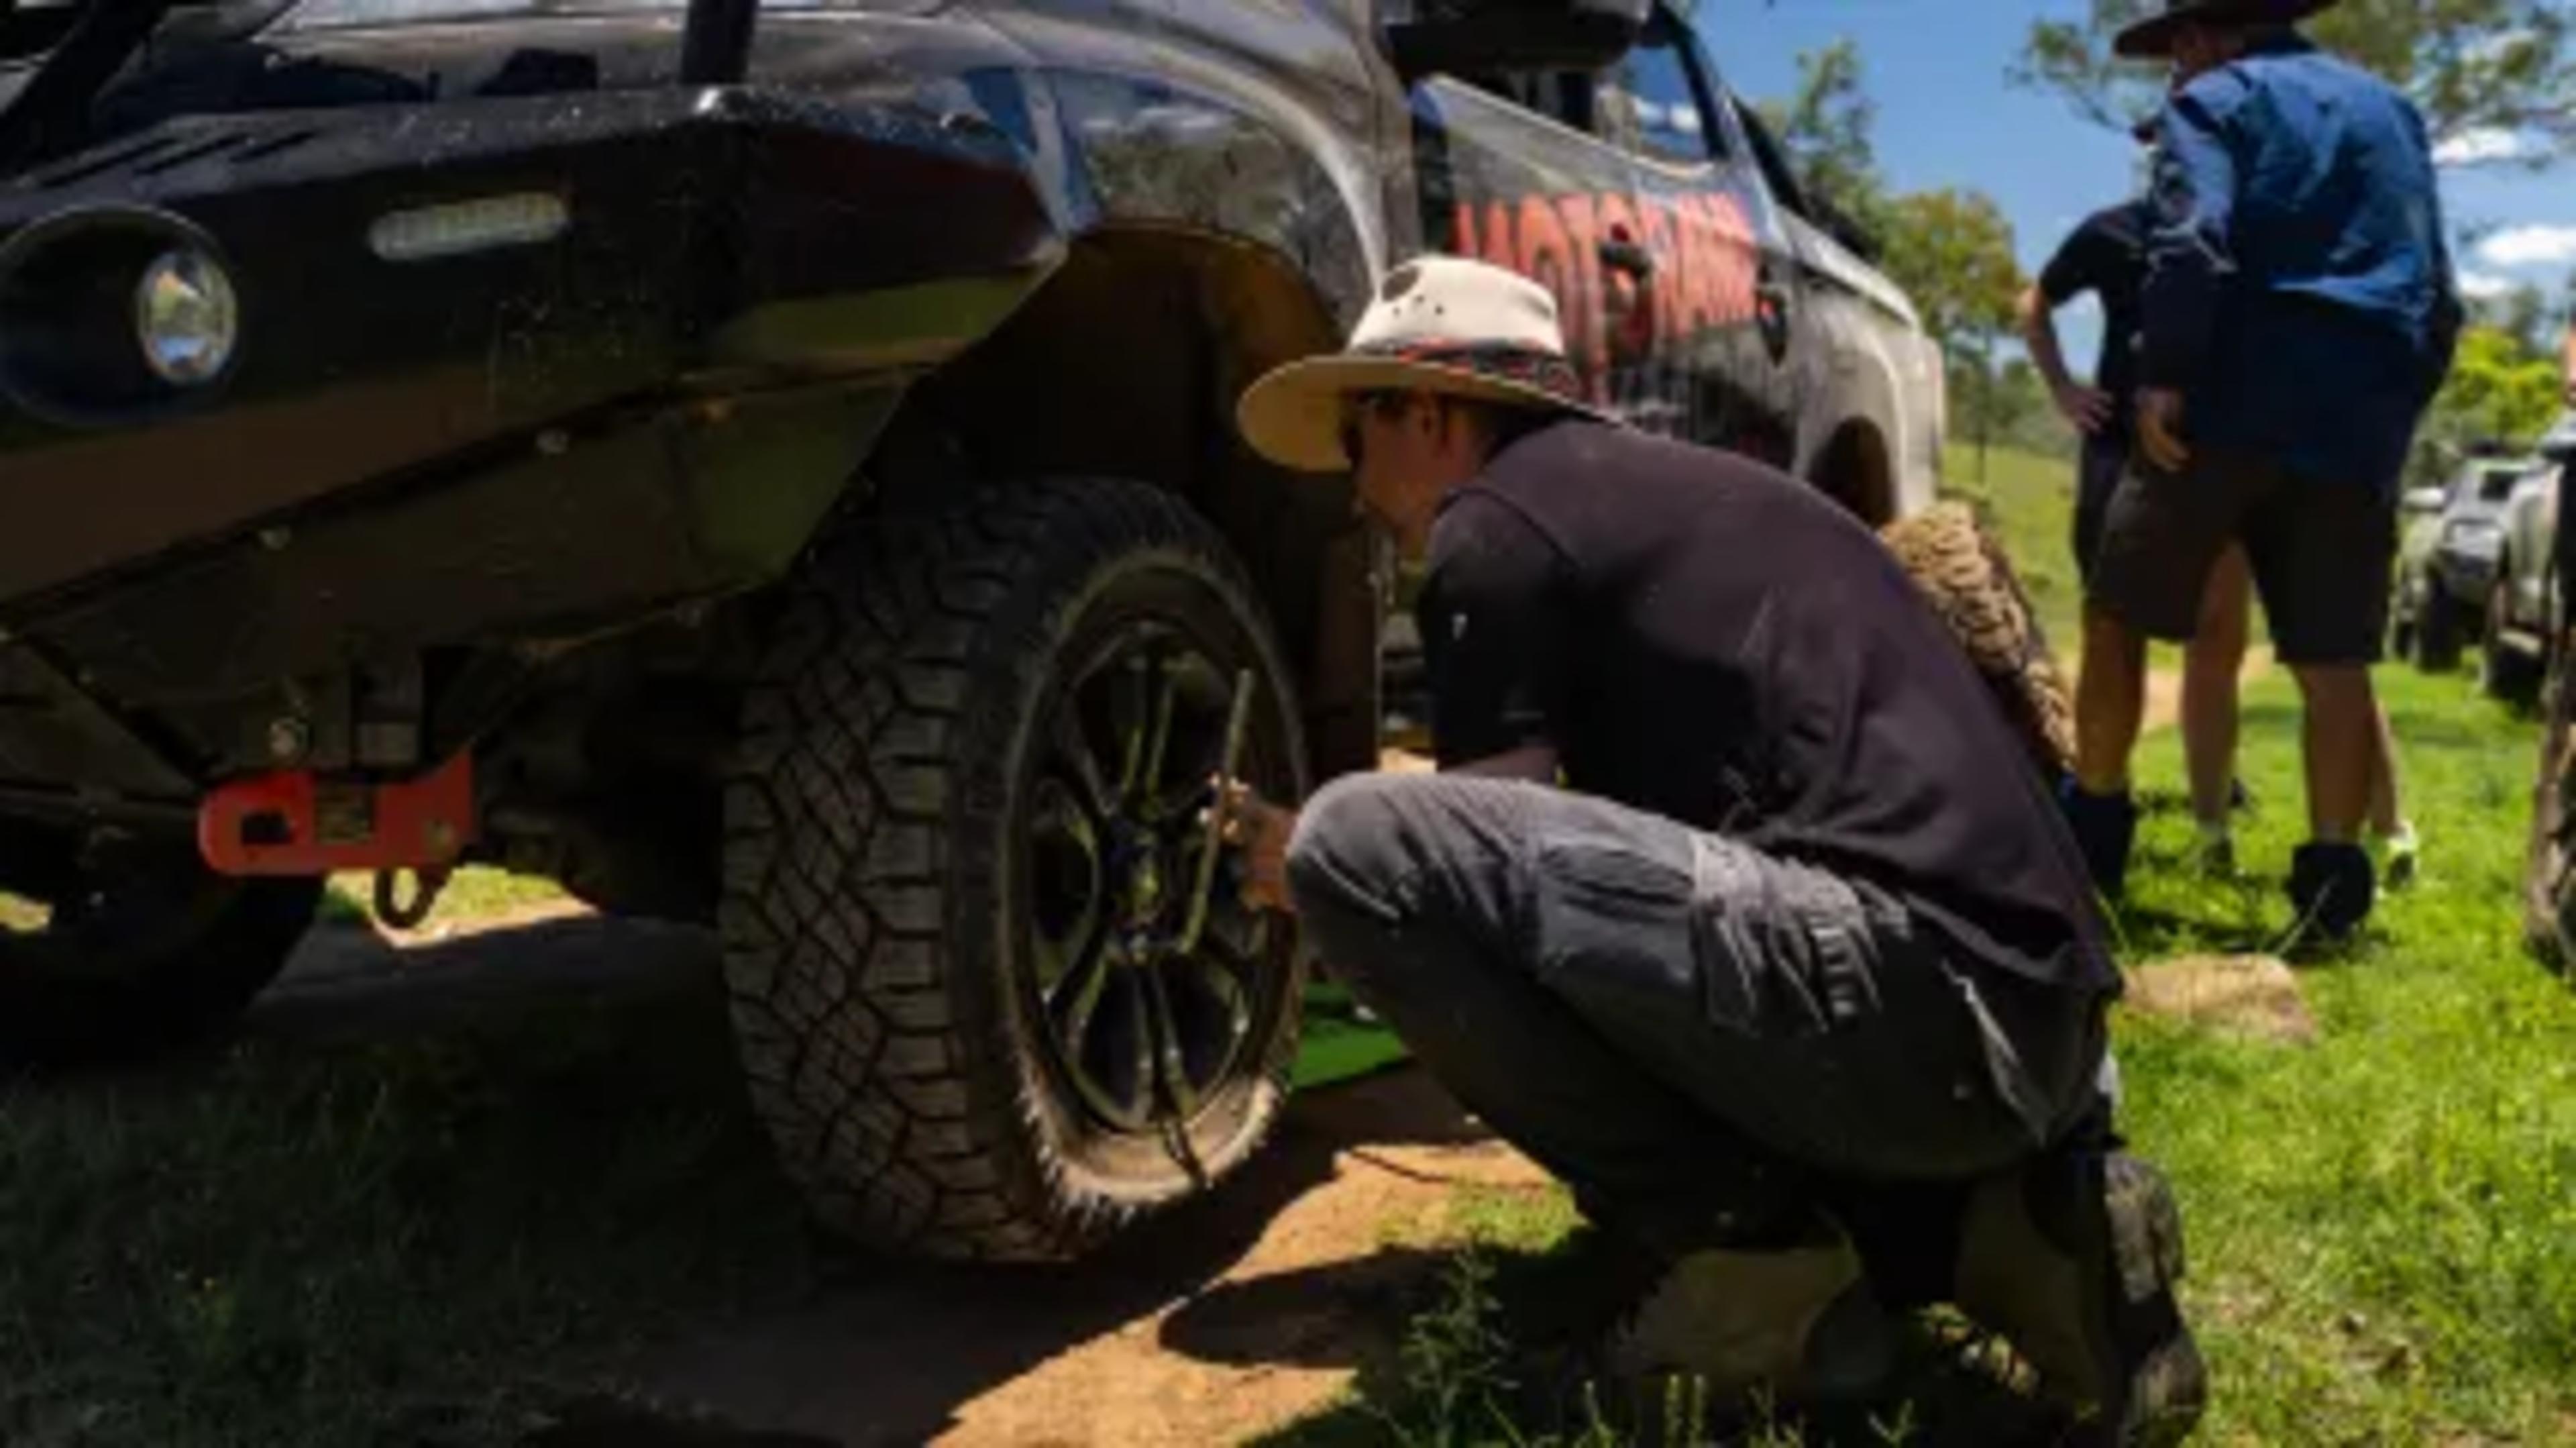
Loosen all the wheel nuts completely, take the tyre off and you're ready to put the spare on.
Once your done, the flat tyre can go back under the tray simply by reversing the process to drop the tyre, or drop it in the back of the ute if you have room.
FIXING THE TYRE | GET A REPAIR KIT
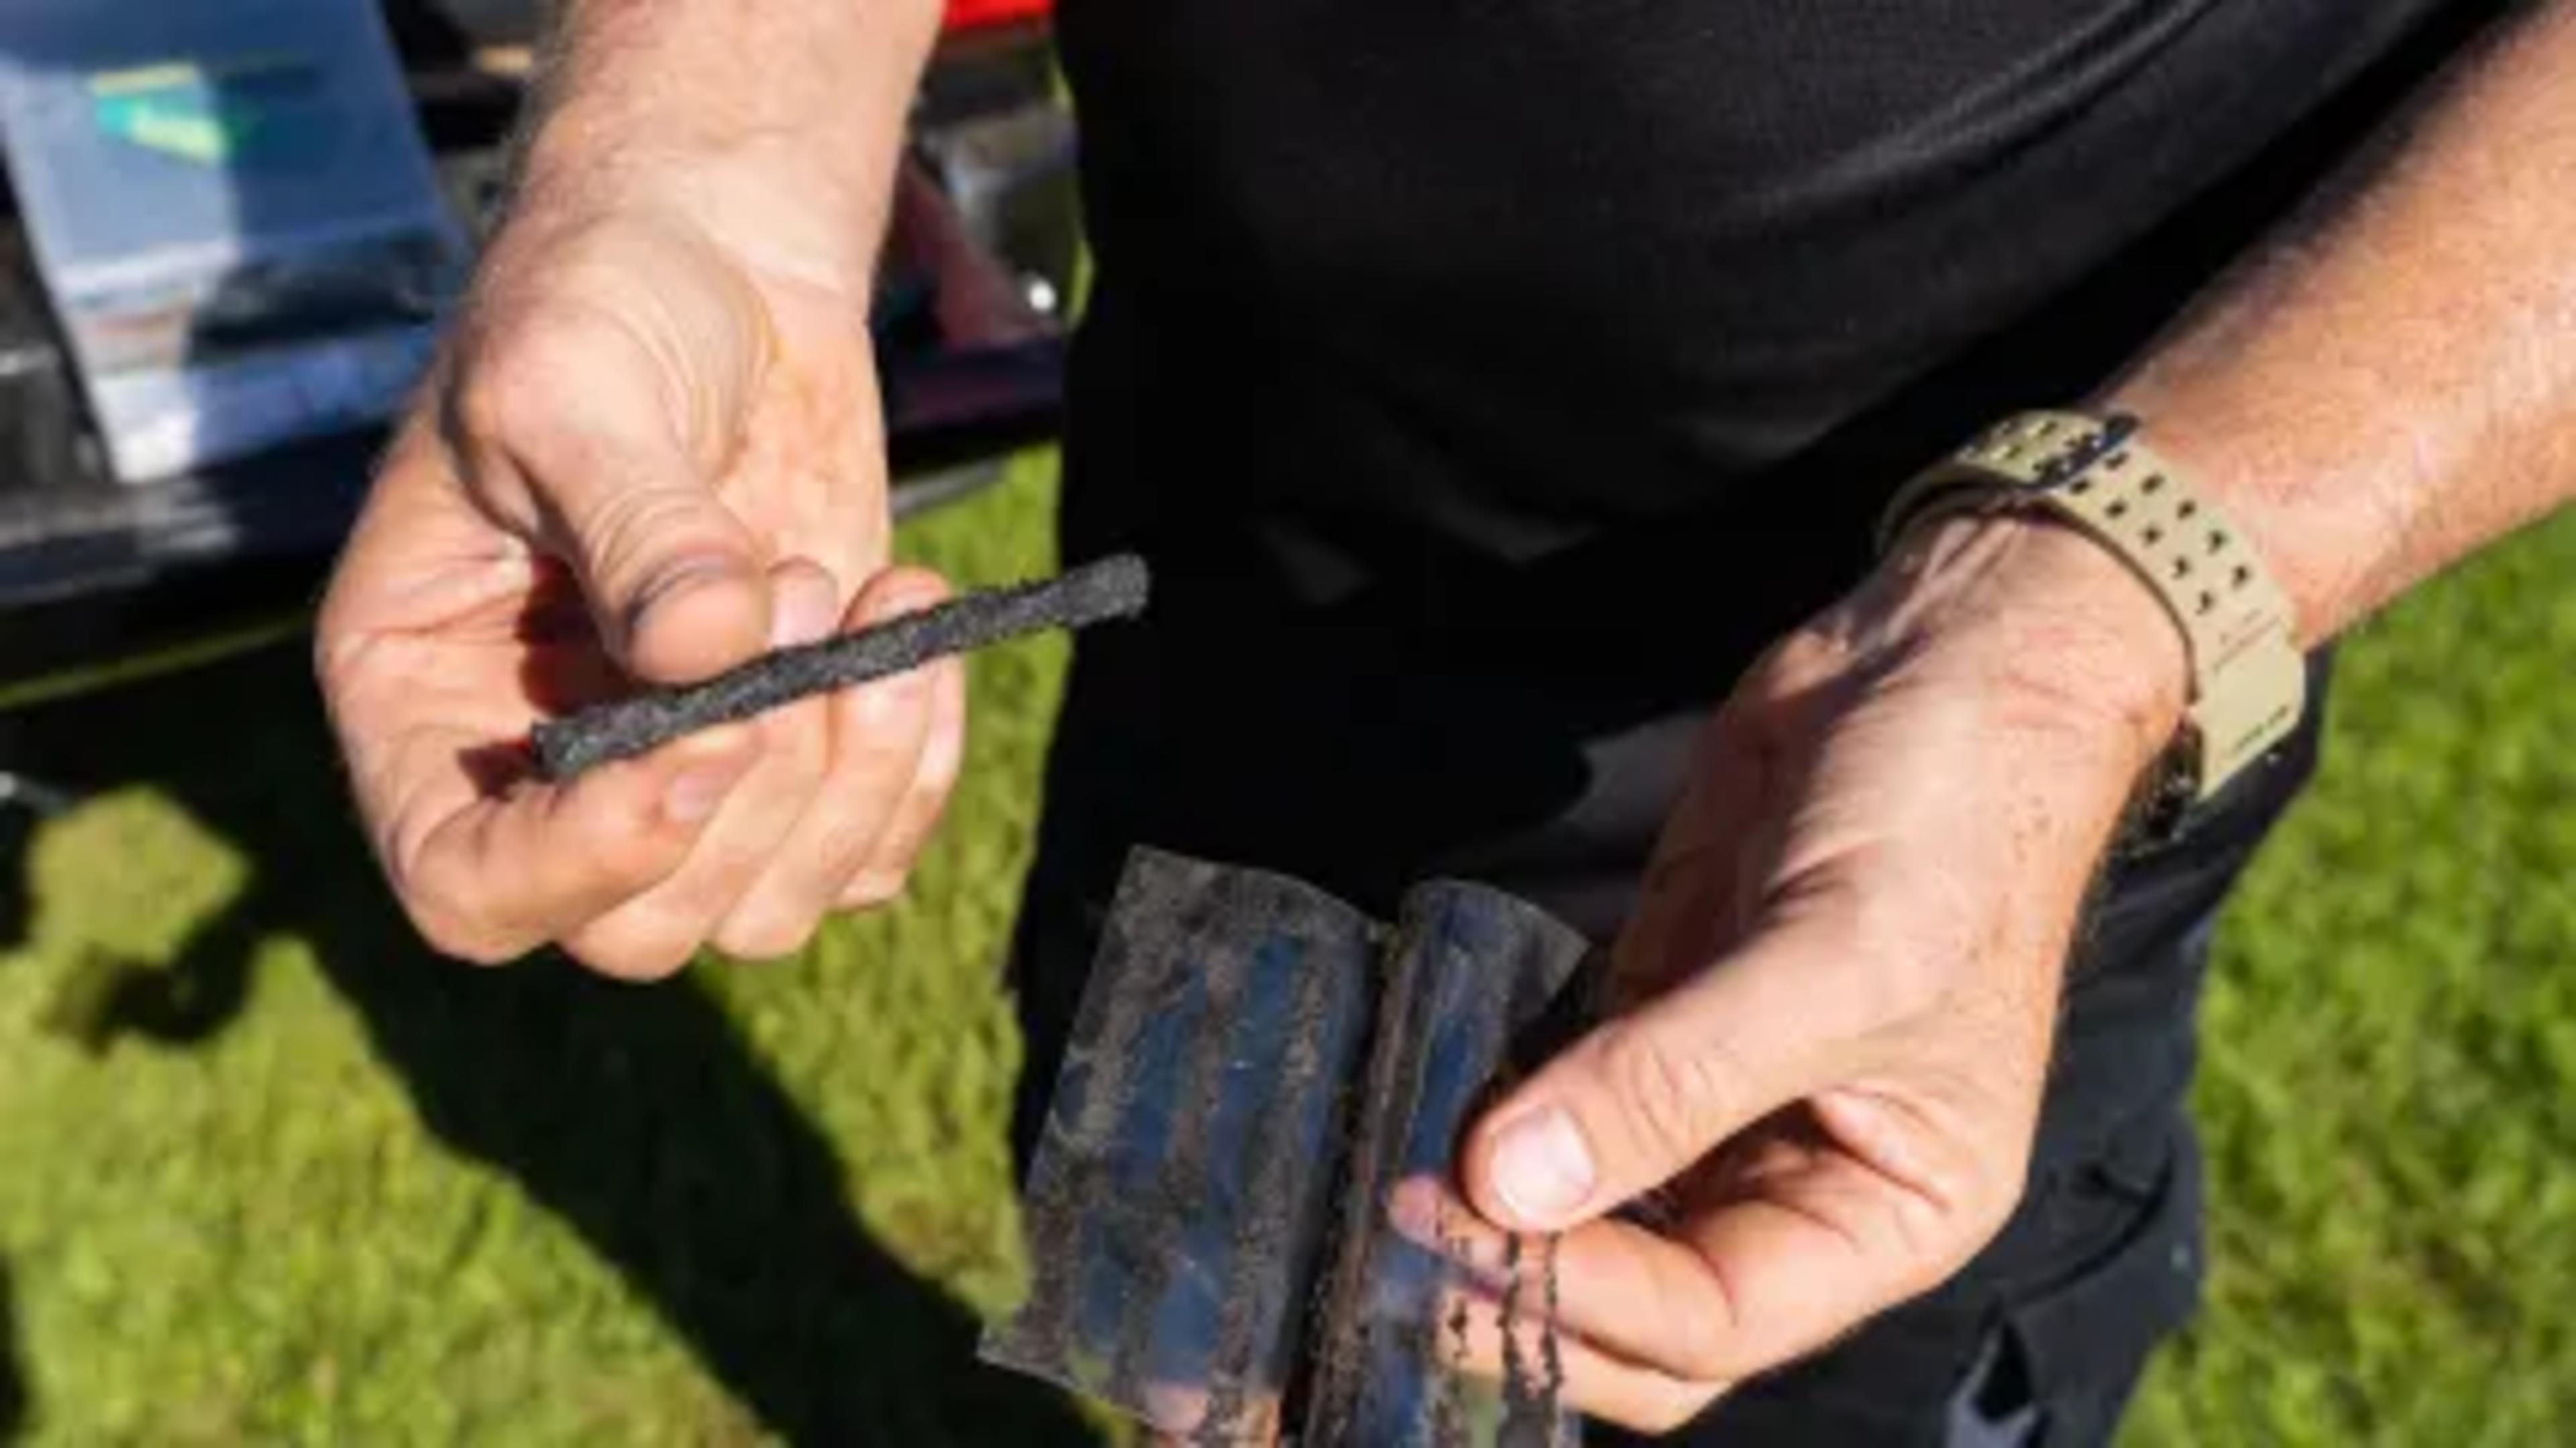
Instead of dropping the spare tyre in the first tyre repair shop, you can choose to repair your flat tyre yourself. To do so you do need a tyre repair kit that comes with rubber plugs or strings, a rasping tool & a plug insertion tool, which you can easily pick up from our mates at Lifestyle 4x4.
They work pretty easy: with the special tool you push a piece of rubber into the hole of the tyre that keeps the air in. The whole process only takes 5 steps:
Step 1 – use the rasp to clean out the hole by rasping in and out.
Step 2 – Pull the plug about half way through the eye if the insertion tool.
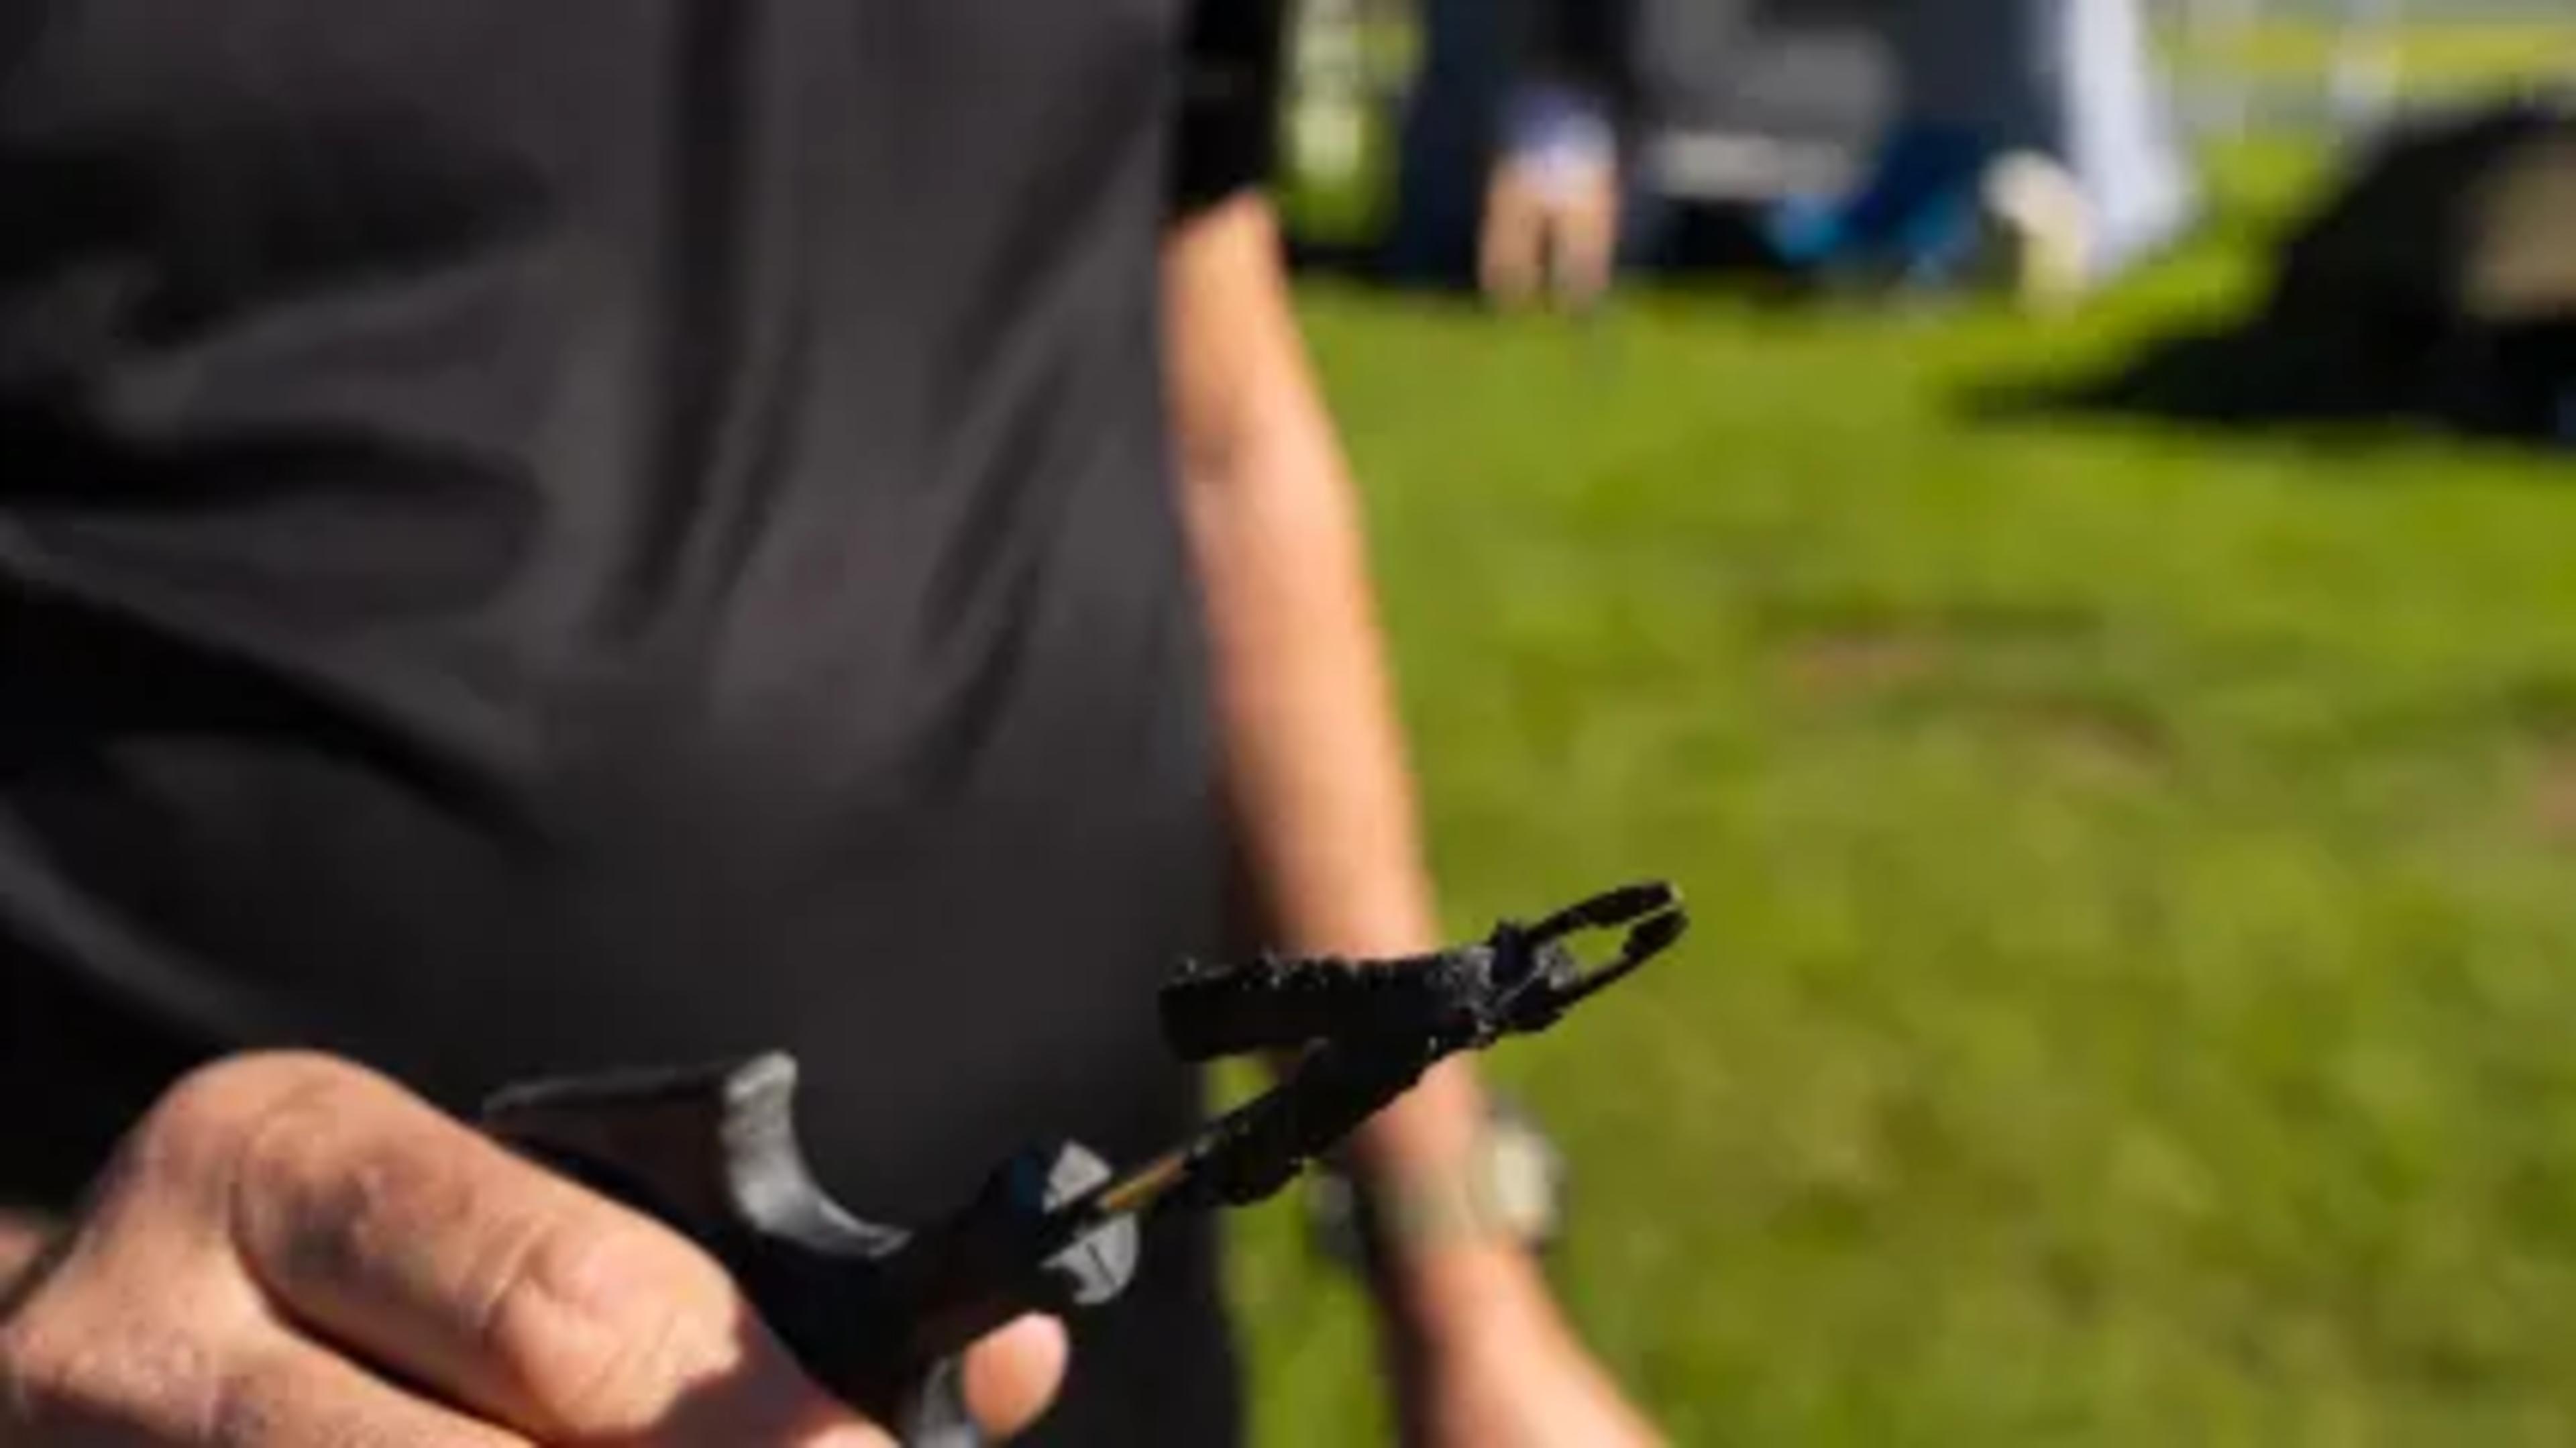
Step 3 – Firmly push the insertion tool through the cleaned hole until around 10 – 15 mls of the plug is remaining.
Step 4 – Rotate the insertion toll about ¼ of a turn, and then slowly pull the insertion tool from the hole, the plug will remain in the hole. If the hole is still not sealed repeat with up to 2 – 3 plugs until the hole is sealed.
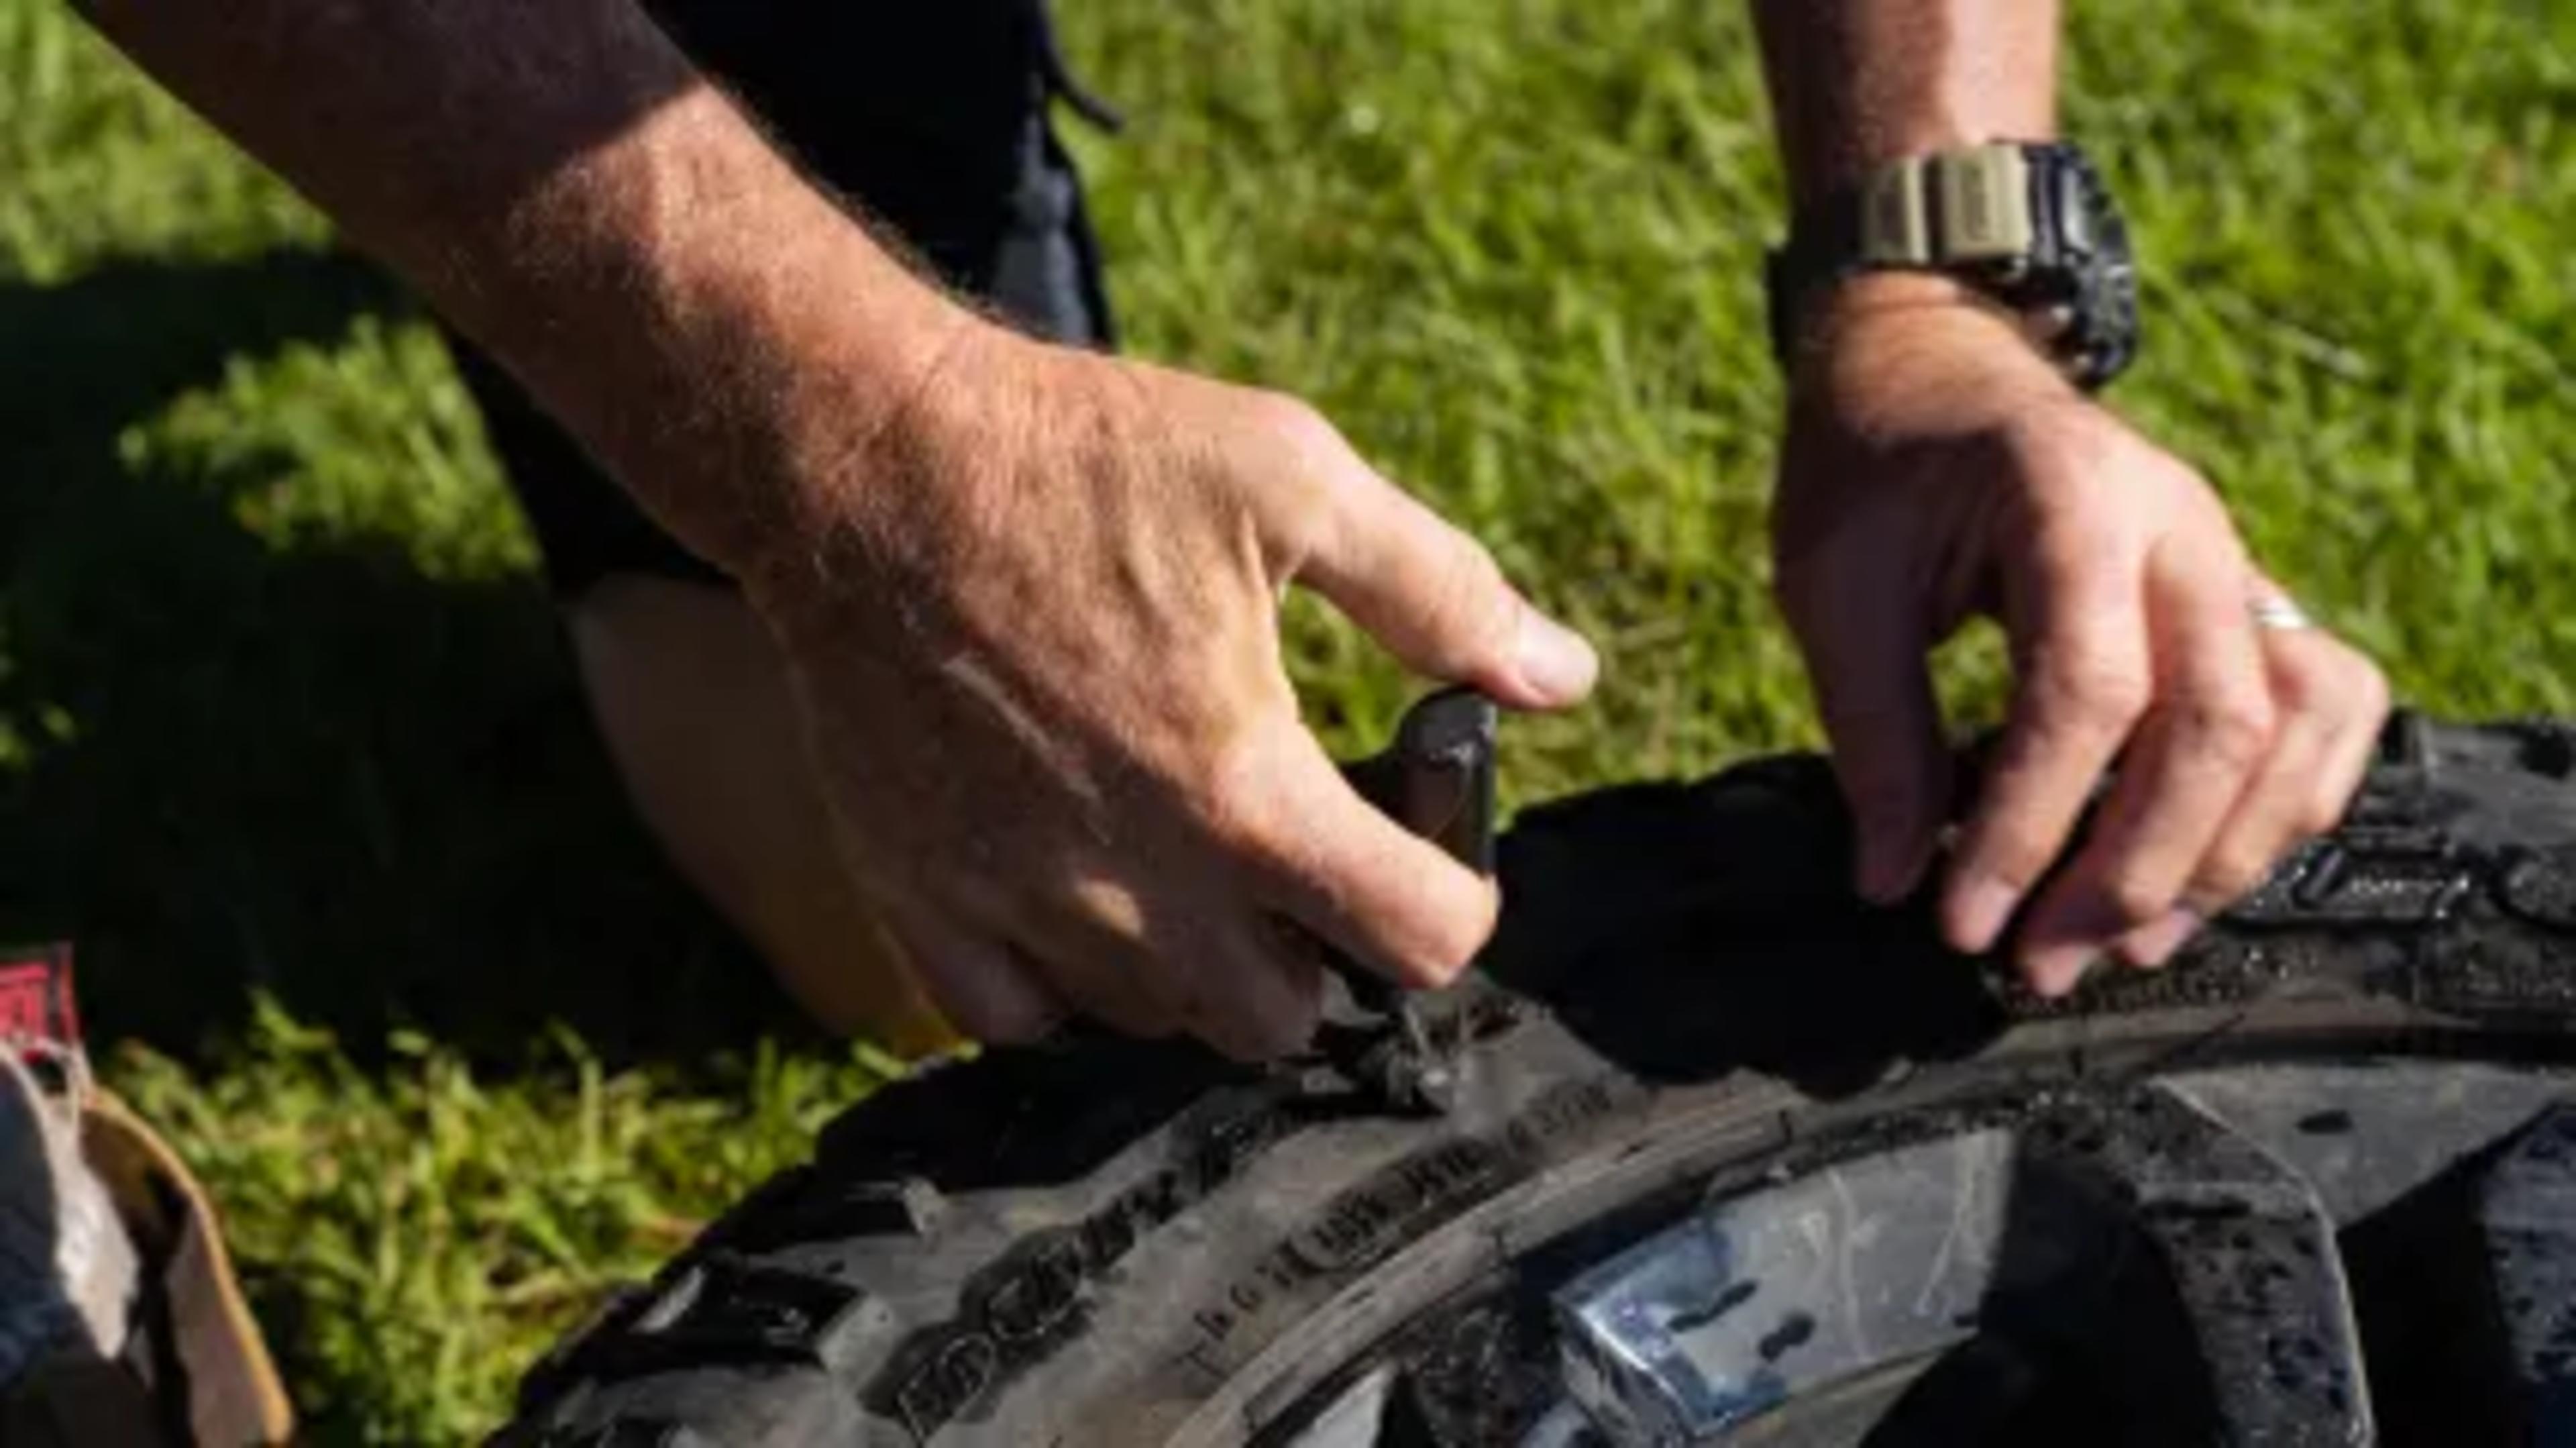
Step 5 – Cut what’s left of plug off at tyre level, pump the tyre up and drive on.
The plug in the tyre can last indefinitely if the repair is in the tread, but if it is a sidewall stake, to ensure complete safety, you should get the tyre replaced as soon as you are able to. So keep an eye on the tyre to see if the plug holds. It's a good idea to check again a few times just to ensure the repair is holding and your tyre is sound. When you're back on the bitumen, drive back to civilisation slowly and visit your local Motorama dealership to have it checked over once you're back.
GET BACK ON THE ROAD
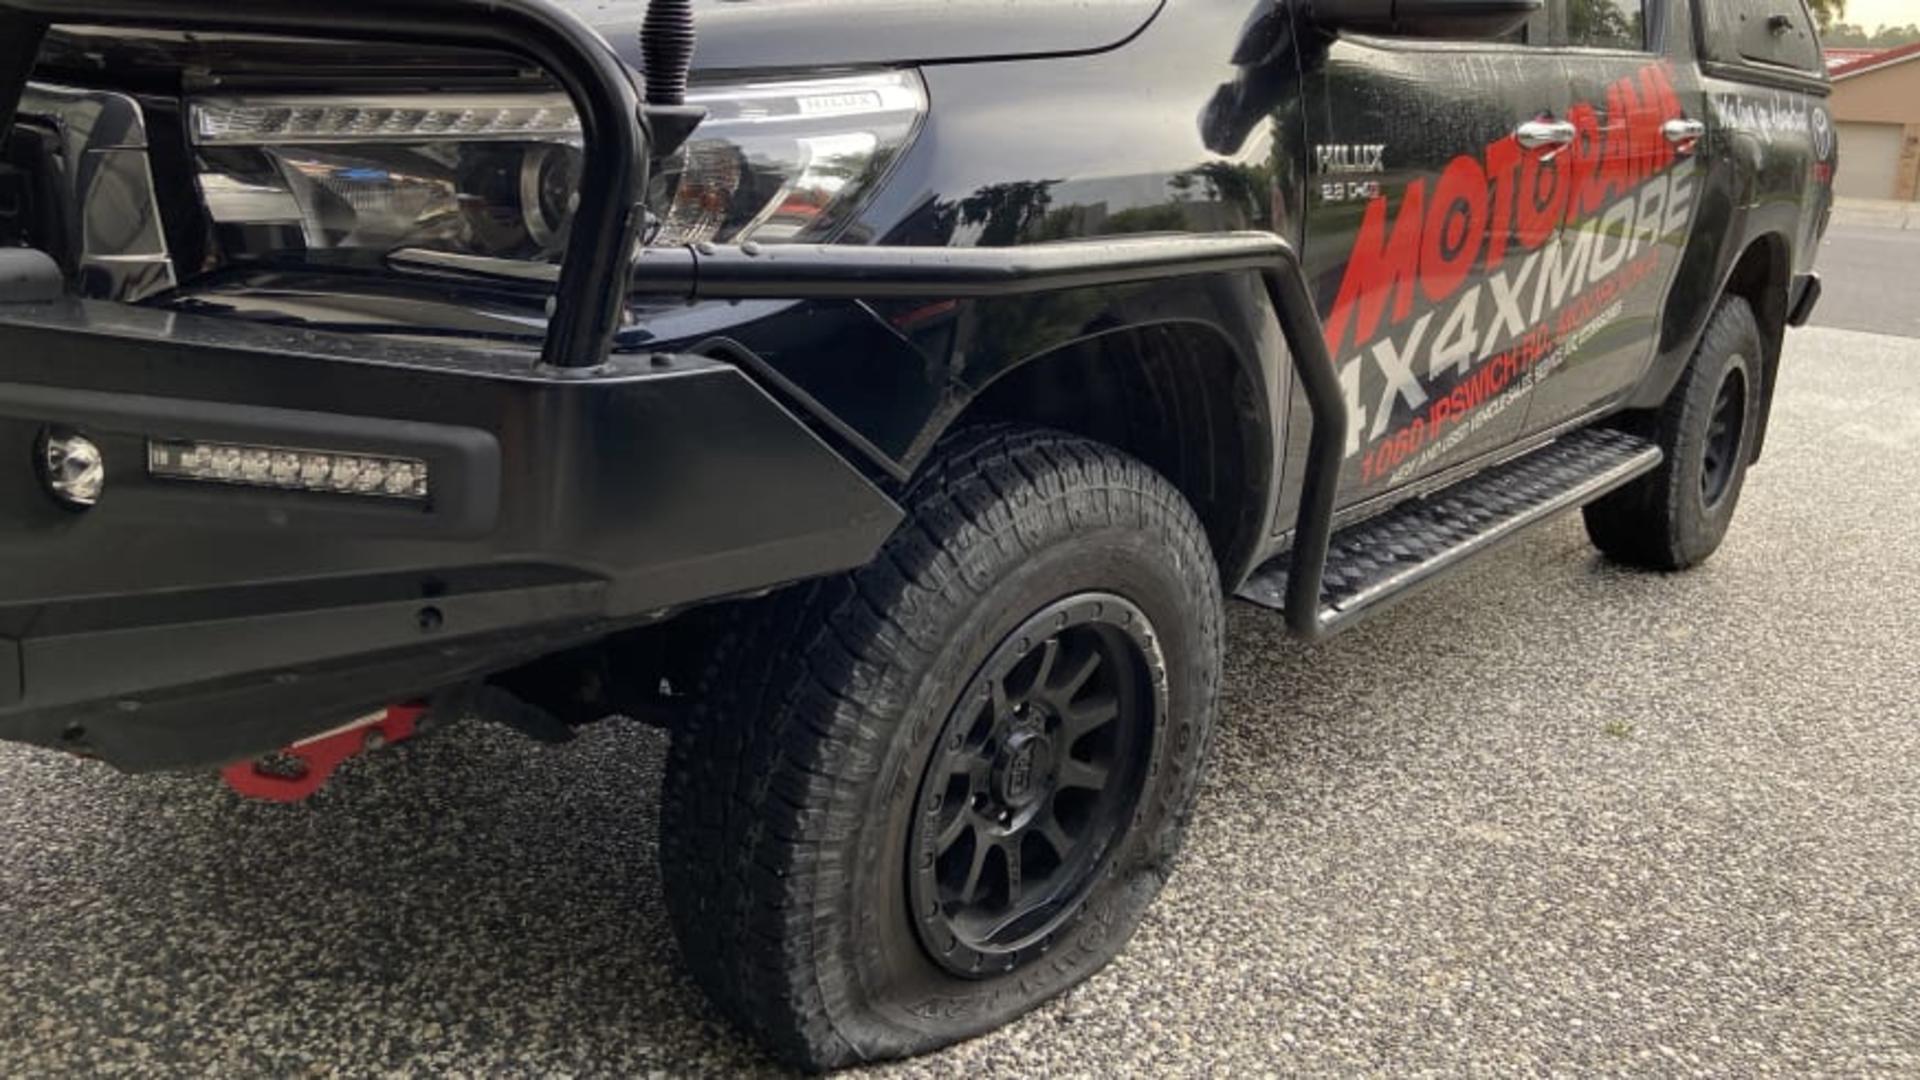
Everybody has had a flat at least once going off road, no matter how experienced you are. A big branch or rock in the wrong place can easily puncture your tyre without you even knowing it.
A flat tyre is not the end of the world. With some prior preparation, usually it's a quick fix and possibly not a very expensive one either if the repair kit can be used.
The more you practise, the better you get at changing or repairing a tyre, and the easier it also gets to help out others in the future.
It's also very important you check the status of your spare tyre regularly. If it's been hanging underneath your vehicle for years, it might not have worn out, but it might not be in the best condition or be low in tyre pressure.
AFTERCARE
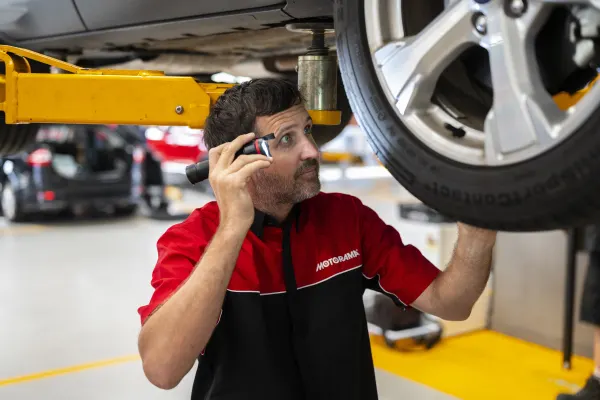
Whether you've changed your tyre or repaired it, it's always a good idea to come back to your local Motorama dealership to have one of our tyre specialists check either the repair, or do an alignment and balance of your tyres.
If you used your spare tyre, you should get the flat tyre replaced or fixed, so that if it happens again you don't look for a tyre that isn't there.